
[Please use headphones]


I wanted the shadows of the surrounding trees to fall realistically over the model so, after I finished setting up the lighting, I started placing cylinders that wouldn't be visible on-screen, but would cast a shadow over the Giant as he moved by.
I looked closely at the shadows in the photo, and tried to replicate the lighting and the softness/hardness of the shadows.
I feel that I achieved the desired effect, with the denser placement of shadows closer to the camera creating a more looming and menacing feel.

Turnarounds for The Giant. This model's at 1 subdivision higher than my original base model to help Maya calculate the displacement maps more accurately (otherwise there's a lot of deformation in the horns and limbs), so the model's polygons look much denser than on my base model.
 |
| Render Time - 00:01:37 |
 |
| Render Time - 00:01:38 |
 |
| Render Time - 00:00:13 |
I've finished the rig and I'm ready to start animating!


 |
| I created separate movements for each toe so I could control them better when animating. |
 |
| Almost all 12 of the toes were at odd angles, so I had to code them in various ways to get them to behave correctly. For example, if I were to rotate a toe into the desired position, it could end up as x:18 y:-4 z:-9. To fix this, I'd code the X rotation as is, whereas I'd apply a *0.5 to the Z axis, and approximately a *0.25 to the Y axis, so each axis moves at the correct rate, and add a - symbol to the code so the Ctrl is animating to a positive value. |

I've got everything bound and weighted - now to start blending!

I've got almost all of the model bound and weighted apart from the clavicles, spine, and head.
The arms and legs have been quite awkward because my model isn't symmetrical, meaning I haven't been able to mirror the skin weights. As I want as much movement as possible in the Giant's toes (kind of like a chickens foot when it walks), I rigged each of its toes in the same way Alan's skinning tutorials advise to rig JPJ's boots. This seems as though it'll give me the desired movement.


However, saving the .exr out from Photoshop heavily reduced the contrast of the map, so it took a bit of time to get all of the settings correct to give the arm a look that is consistent with the rest of the model.

I've been working a lot to create a good medium between render quality and render time to give myself something more manageable, and I've been able to lower the render time down from 3:04 to 0:38 with no real noticeable drops in quality.
The lighting I have set up currently in my scene is pretty harsh so I can clearly see the effects of my displacement maps as I apply and edit them.
I doubt this process will take too much longer and then I can finally get onto rigging!


I have begun moving everything back over into Maya, beginning with the textures and Mudbox paint layers. I need to bring over the displacement maps to give the mesh its detail, as it's currently at a very low subdivision level, but this will be very back-and-forth between Mudbox and Maya as the settings can be somewhat fiddly. I'll be uploading test renders as I go, and once all of the displacements are set up I'll render out a turnaround of the Giant in its default pose before moving on to rigging.
While working in Mudbox I ran into the same problem as before a couple of times, in which the software crashed and corrupted my files, causing me to lose a lot of my progress. I have been keeping several copies of my files so it wasn't quite as bad as it could have been, but it set me back a couple of days overall. I think it has a lot to do with RAM as my memory is frequently reaching around 80%, despite having 16GB. Is there any way to lower Mudbox settings within the Viewport other than lowering the subdivision level?


I've imported my model into Mudbox and have begun working on the head, and have made a rough guide for the horns. Tomorrow I hope to finish the horns and face, and get to work on the torso.


 |
| Arm |
 |
| Torso |
 |
| Head |
 |
| Horns |
 |
| Leg |


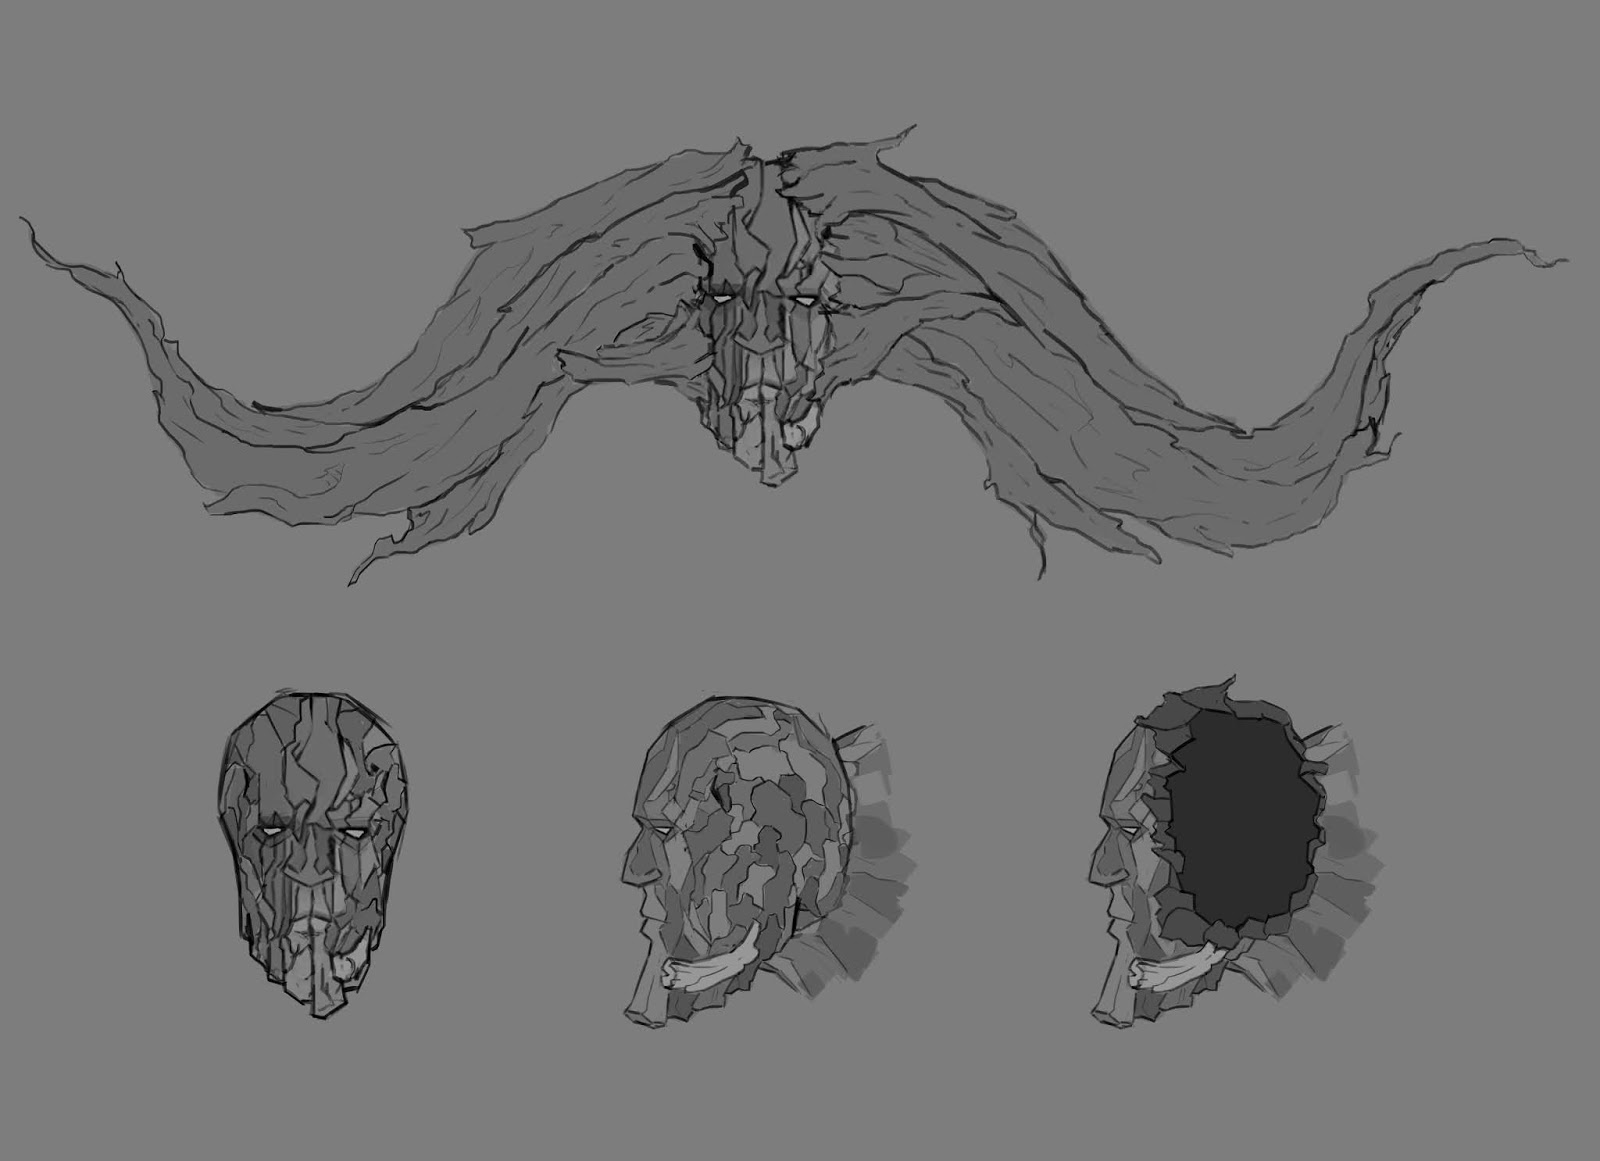
I'm quite happy with this model at the moment, but the chin's looking a bit weird. I modelled it to be around the size of his chin if it was smooth so I can sculpt in the wood details in Mudbox, because it didn't look quite right when I tried blocking it all in using Maya.
I think I might lower his brow to make him look less kind/soft.
I think I might lower his brow to make him look less kind/soft.
