
Turnarounds for The Giant. This model's at 1 subdivision higher than my original base model to help Maya calculate the displacement maps more accurately (otherwise there's a lot of deformation in the horns and limbs), so the model's polygons look much denser than on my base model.
 |
| Render Time - 00:01:37 |
 |
| Render Time - 00:01:38 |
 |
| Render Time - 00:00:13 |
I've finished the rig and I'm ready to start animating!

However, saving the .exr out from Photoshop heavily reduced the contrast of the map, so it took a bit of time to get all of the settings correct to give the arm a look that is consistent with the rest of the model.

I've been working a lot to create a good medium between render quality and render time to give myself something more manageable, and I've been able to lower the render time down from 3:04 to 0:38 with no real noticeable drops in quality.
The lighting I have set up currently in my scene is pretty harsh so I can clearly see the effects of my displacement maps as I apply and edit them.
I doubt this process will take too much longer and then I can finally get onto rigging!


Before finishing the model in Mudbox, I thought it was best to check on the displacement maps as I go to be sure that everything is working as it should. For the most part things aren't looking too bad, but the horns aren't retaining the detail they should be. And the face and horns are being quite fiddly, so I might need to take the displacement maps into Photoshop to sort out some minor problems - mainly around the neck, bridge of the nose, and brow line.


 |
| Arm |
 |
| Torso |
 |
| Head |
 |
| Horns |
 |
| Leg |


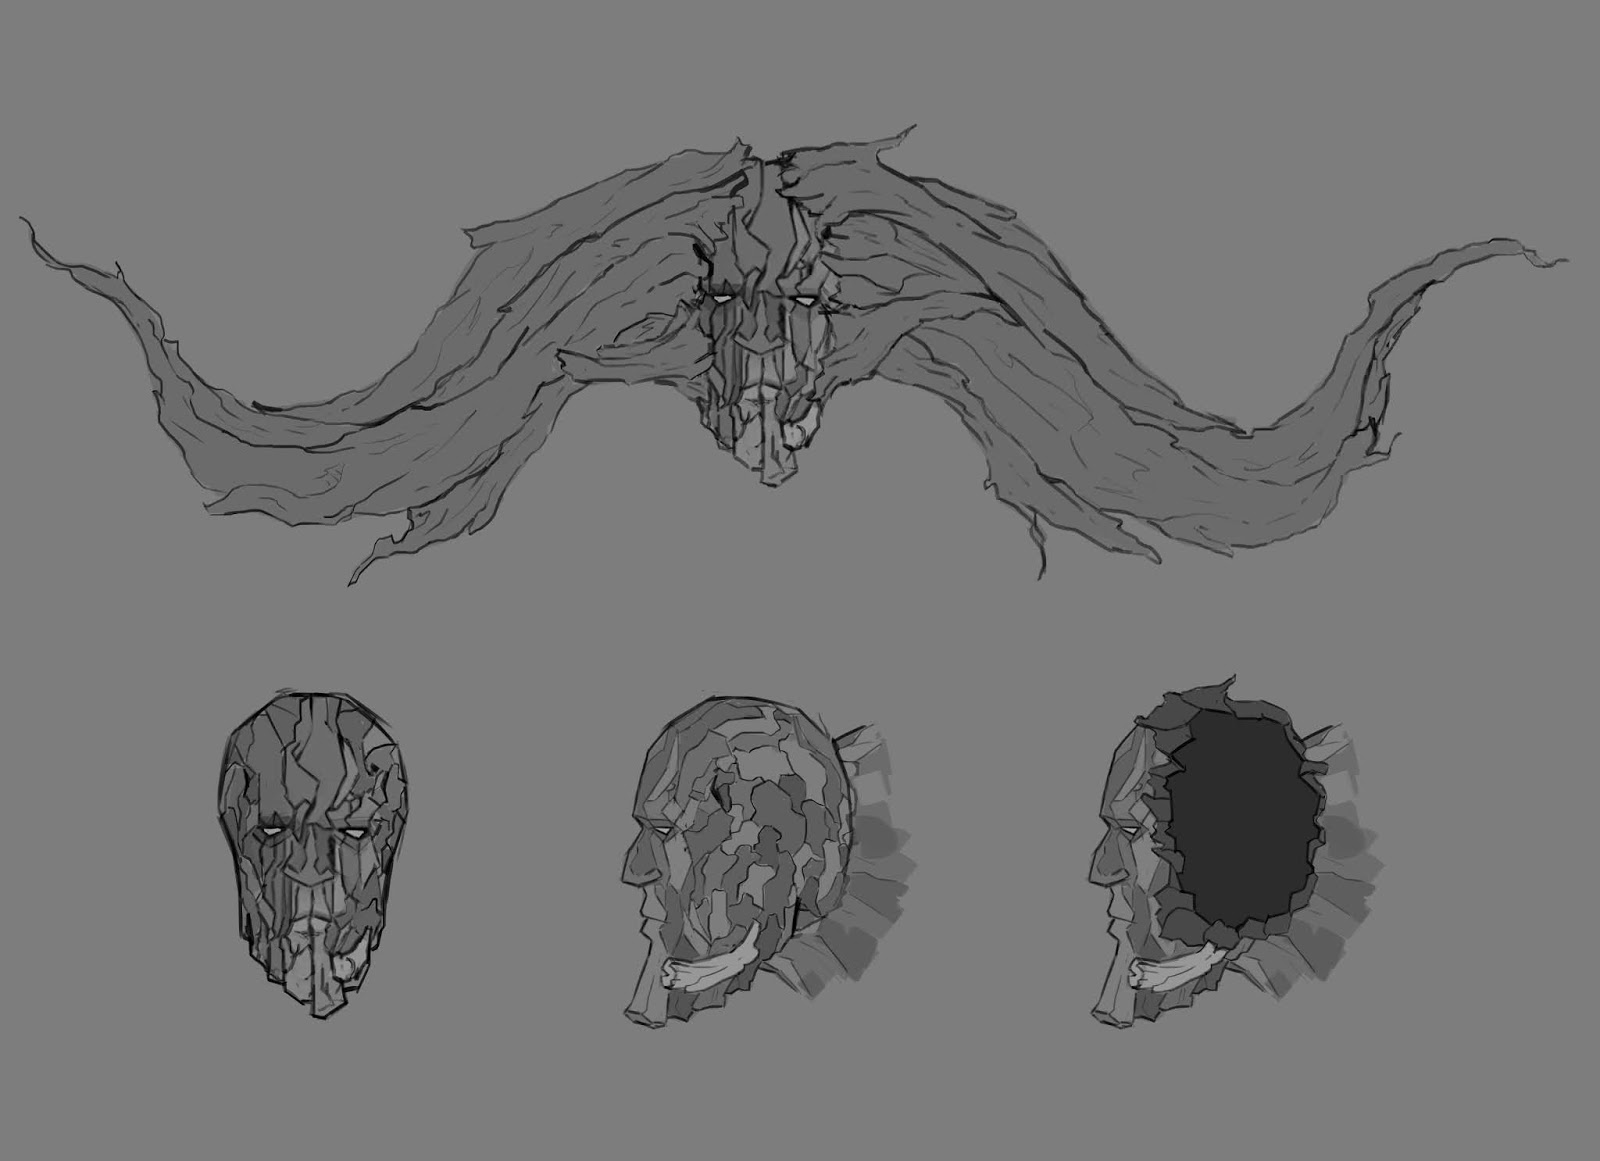
I'm quite happy with this model at the moment, but the chin's looking a bit weird. I modelled it to be around the size of his chin if it was smooth so I can sculpt in the wood details in Mudbox, because it didn't look quite right when I tried blocking it all in using Maya.
I think I might lower his brow to make him look less kind/soft.
I think I might lower his brow to make him look less kind/soft.
